Adding a Build Step in Azure DevOps Server
-
Go to the collection with the extension installed (http://
<installation_address>/DefaultCollection/project,<installation_address>is the machine address where Azure DevOps Server is installed). -
Follow the path Pipelines > Pipelines.
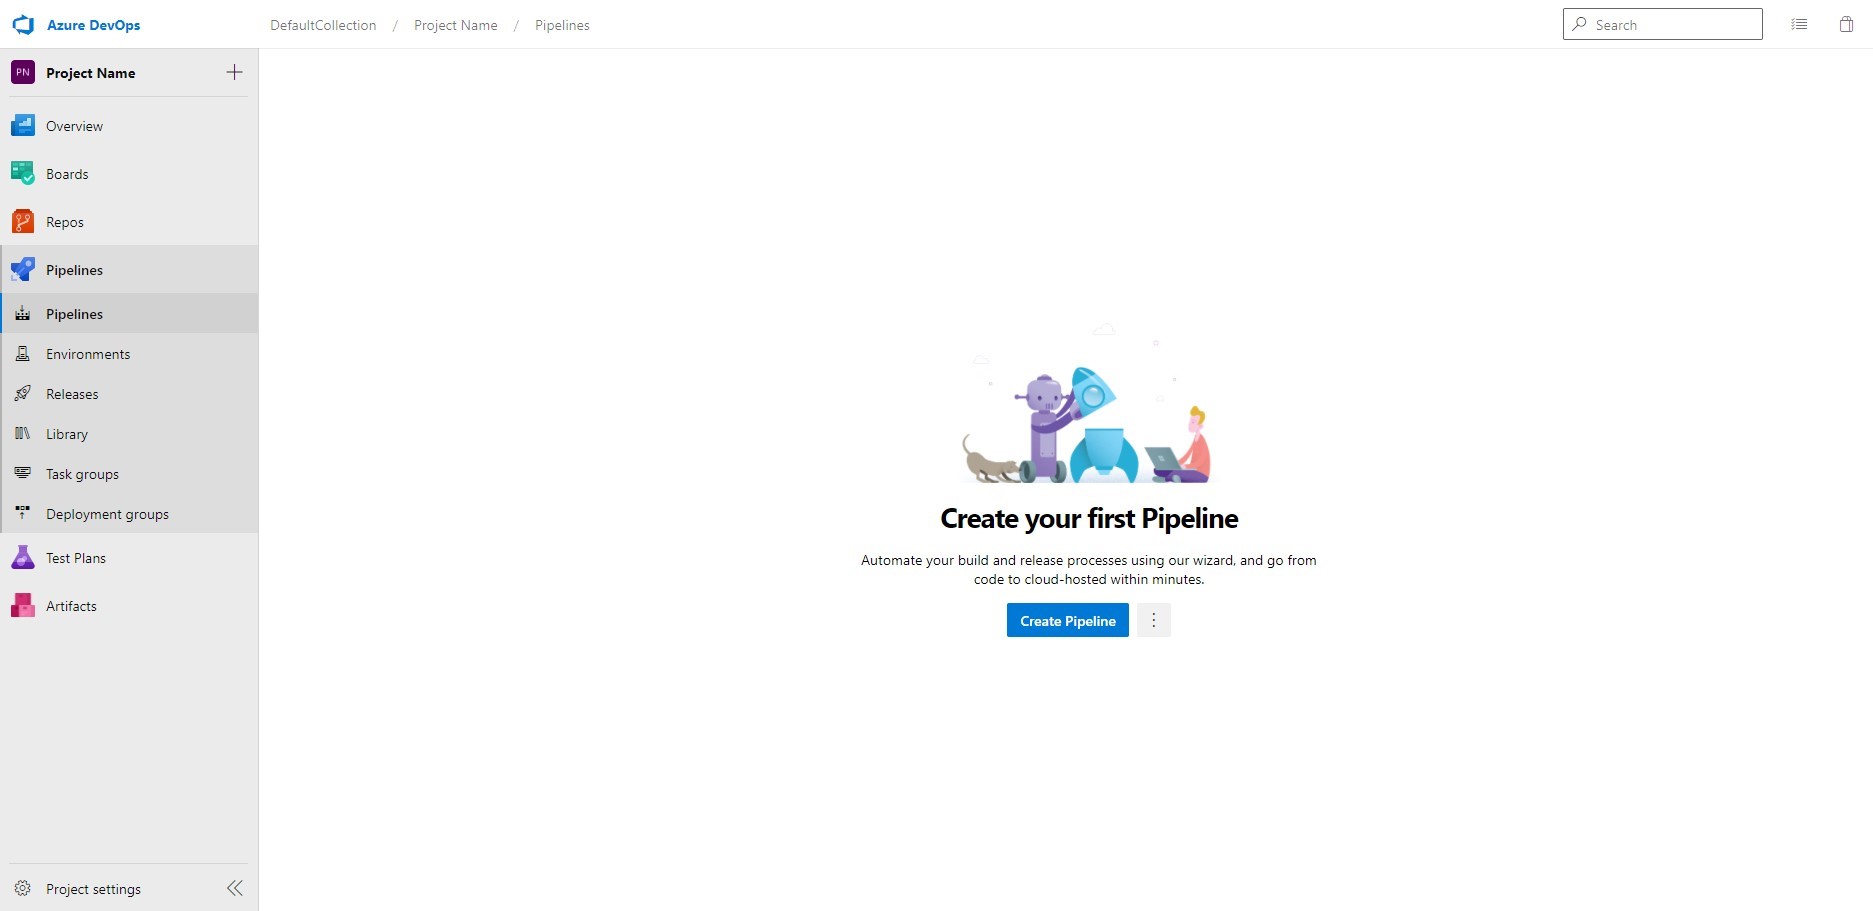
Figure 10.35: Azure DevOps Server Build and Release
-
Click the three dots > Edit for the existing build definition, or create a new one by clicking New Pipeline. If you have selected a new pipeline, choose Classic Redactor in the code location. Then click Continue, and in the template selection, choose Empty Job.
- Click Admin settings.
- Navigate to the Security section.
- Click Project collection build services.
- Select Allow next to Edit build definition.
- Click Save changes.
-
Click Add Task.
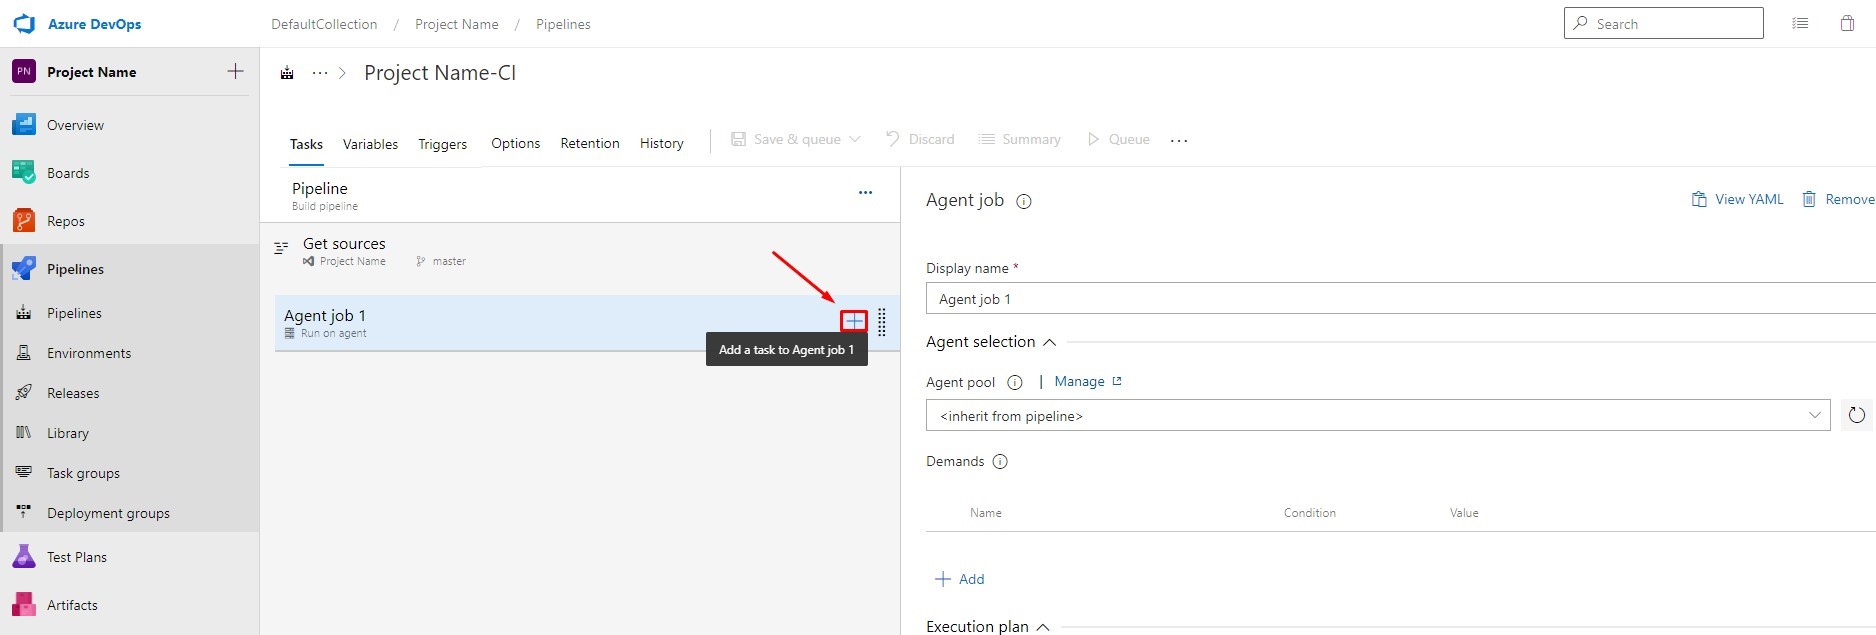
Figure 10.36: Azure DevOps Server: Add Task
- Find Run DerScanner SAST and click Add.
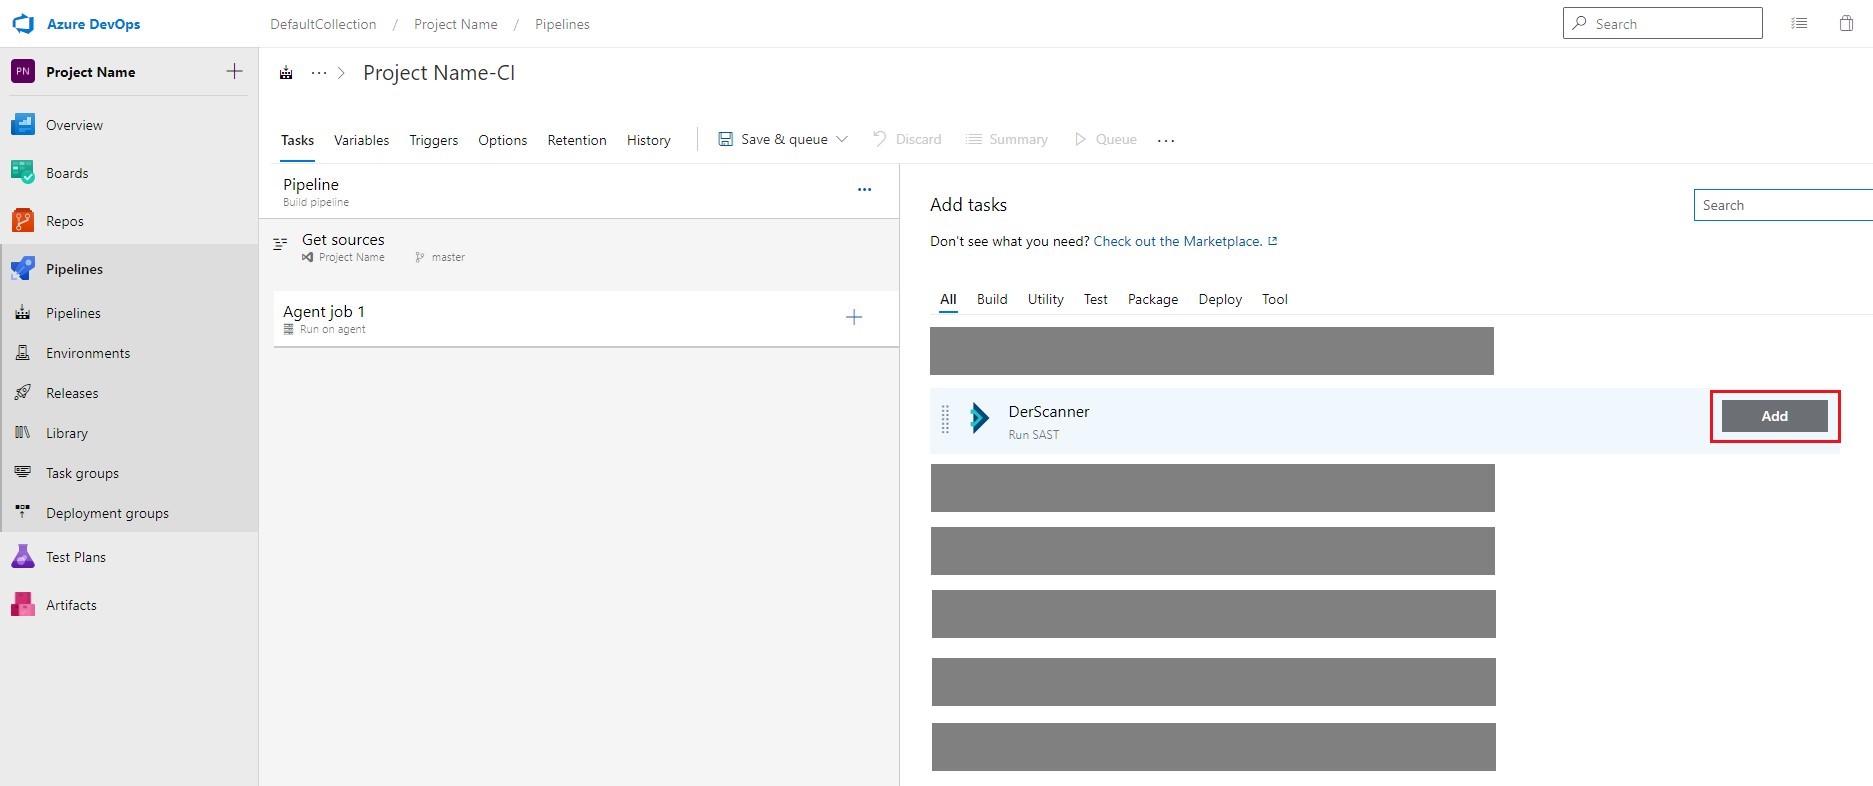
Figure 10.37: Azure DevOps Server: Select Task
-
Select the added build step.
-
Add the DerScanner server connection from the list or create a new one:
- To the right of the DerScanner server end point field, click New.
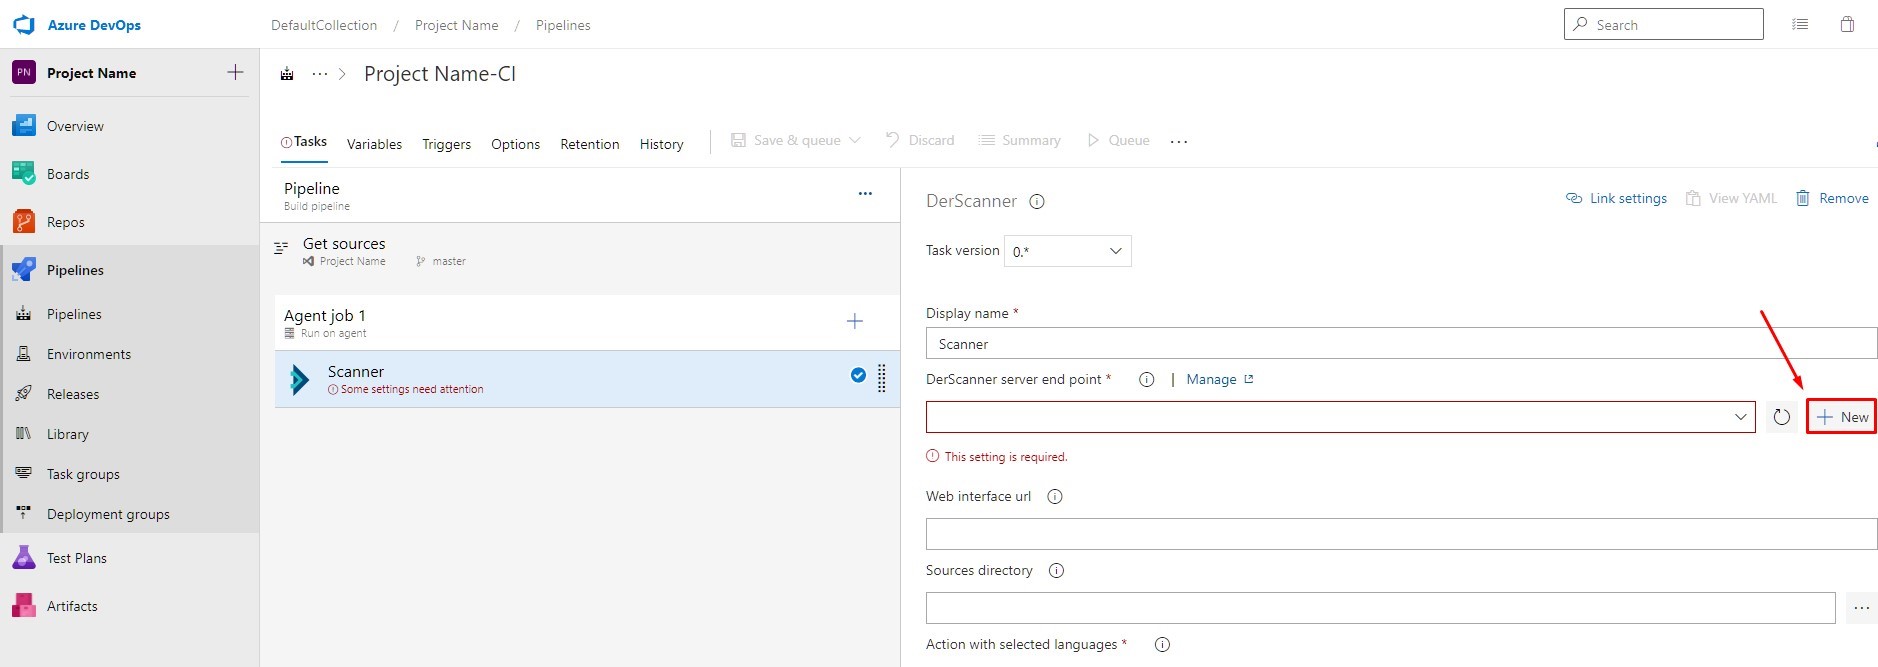
Figure 10.38: Azure DevOps Server: Edit Task- In the pop-up window that appears, enter the API address (for example, http://
<installation_address>/app/api/v1/ (<installation_address>is the machine address where DerScanner is installed) and a token. The token can be obtained in the User Profile section (when receiving a token, it is recommended to set a long token validity time)).
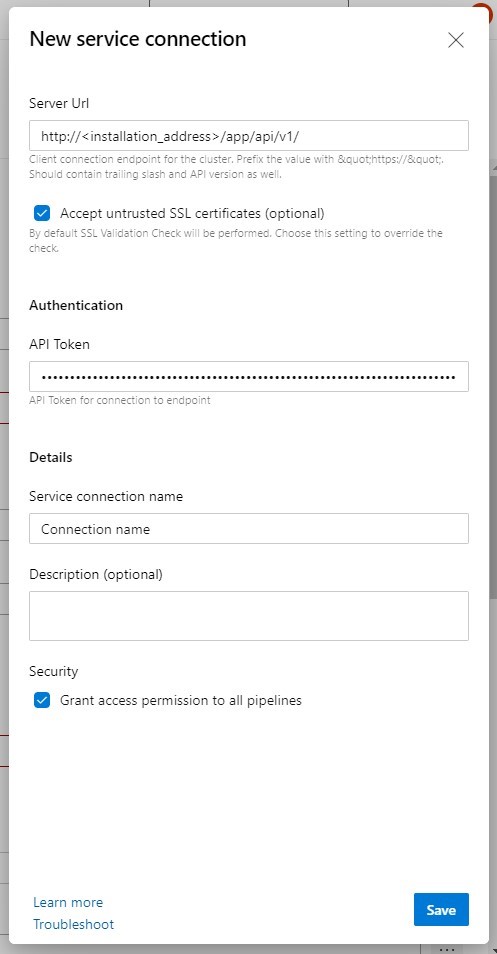
Figure 10.39: Azure DevOps Server: Add Connection- Click OK.
-
Specify the required parameters (about scan settings. To create a report, select the Export settings section and enable Export report when analysis is finished. If necessary, configure the report parameters (about report parameters).
-
Set up additional analysis parameters in the General analysis settings menu: Use extra rules, Incremental analysis, Analyze libraries and nested archives.
-
Set up Failure Conditions:
-
In the Task failure conditions section, select Enable failing on condition.
-
Define Failure Conditions based on values (Score condition, Critical issues number condition, Medium issues number condition, Low issues number condition, Info issues number condition).
-
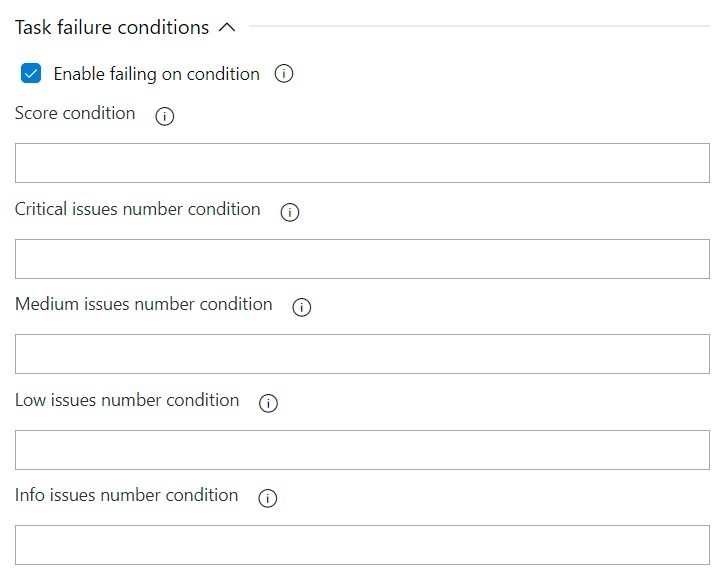
Figure 10.40: Azure DevOps Server: Failure Conditions
- Click Save and queue and then again Save and queue.

Figure 10.41: Azure DevOps Server: Save
-
Wait until the build is complete and go to the results page (click on the build number).
-
To download the report, go to the DerScanner code analysis results tab and open the report link in a new browser tab.