Usage
- Launch Visual Studio. Open a project, create a new project or continue without it.
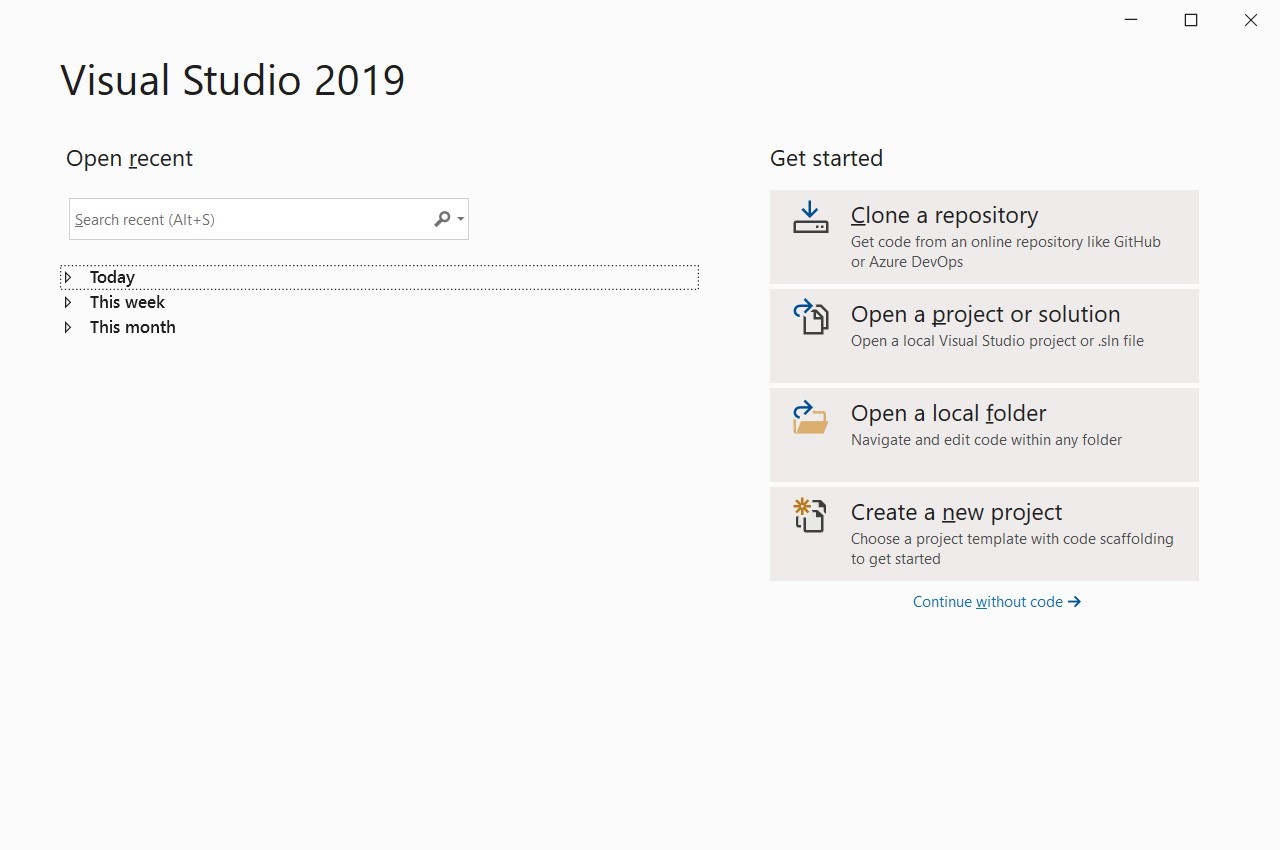
Figure 10.53: Visual Studio: Launch
- Go to Options.
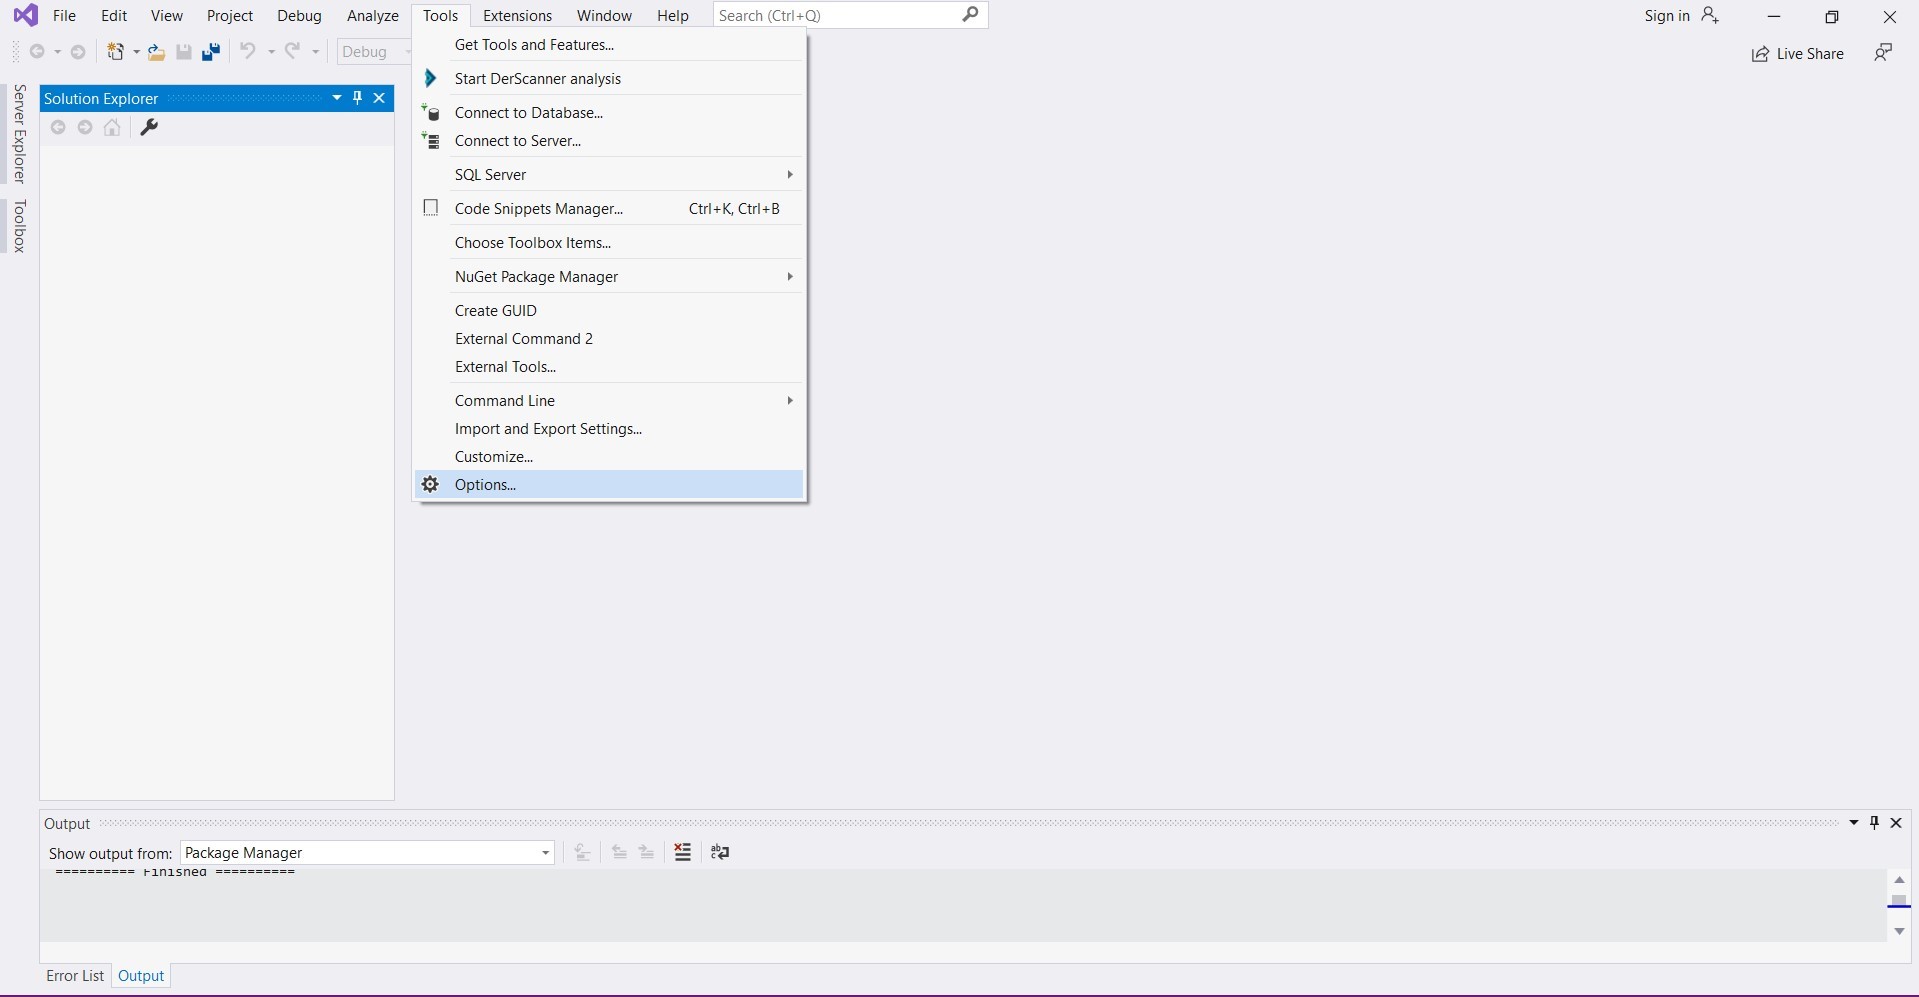
Figure 10.54: Visual Studio: Options
- Select DerScanner Settings.

Figure 10.55: Visual Studio: Select Options
-
Specify the required values:
- Enter DerScanner URL, for example http://
<installation_address>,<installation_address>is the machine address where DerScanner is installed. - Enter the token. The token can be obtained in the DerScanner interface in the Account section (when receiving a token, it is recommended to set a long token validity time).
- Enter the project name and project UUID, which can be obtained from the project side menu in the DerScanner interface.
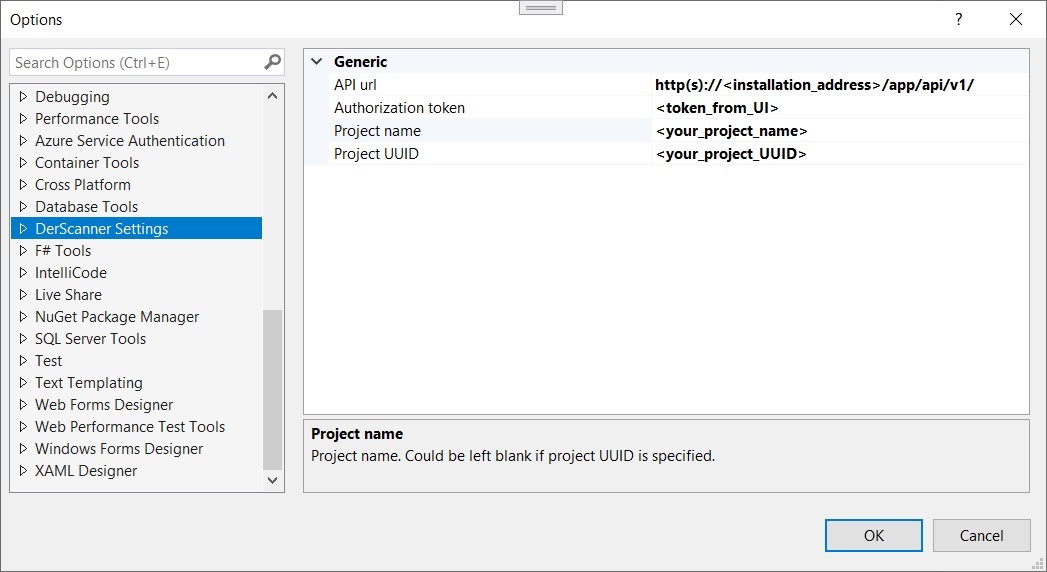
Figure 10.56: Visual Studio: Specify Values - Enter DerScanner URL, for example http://
-
To start analysis, you need to create a project or open one first.
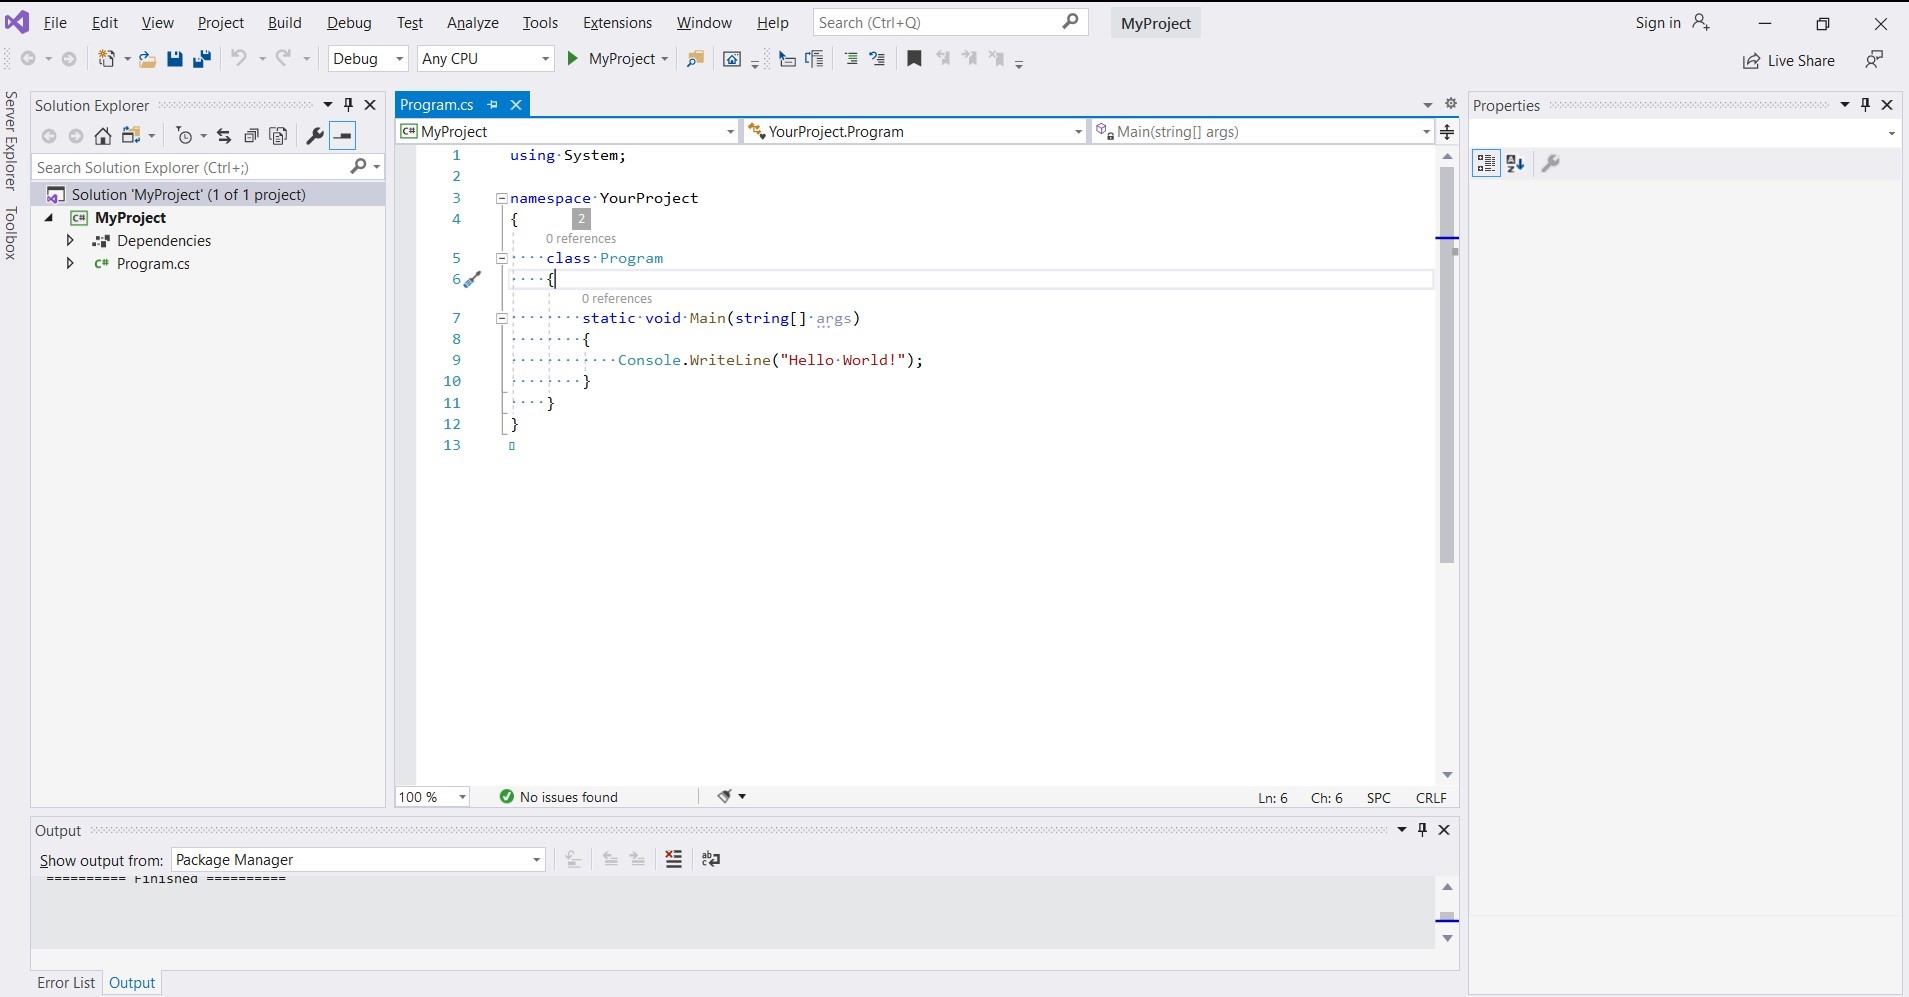
Figure 10.57: Visual Studio: Open Project
- Scanning is launched with Start DerScanner analysis.

Figure 10.58: Visual Studio: Start Analysis