Export SAST Report
On Export Report, you can download scan results in HTML, PDF, CSV or SARIF format. Select settings preset or manually choose information that should be included into your report.
Scans
To export analysis results, choose one or more scans. To get only general information about your project, remove all scans from the list.
Compare with Scan
Choose a scan to enable the Compare with Scan option. Comparison table, diagram and statistic on new, remaining, and fixed vulnerabilities are to be included in your report. Choose statuses (new, remaining, and/or fixed) and number of vulnerabilities.

Figure 5.19: Compare with Scan
Project Information
It is possible to include security level dynamics, vulnerabilities numbers dynamics and scan history if needed.

Figure 5.20: Project Information
Vulnerabilities Classification
Select one of the vulnerability classification methods: By severity, By secrets, OWASP Top 10 2013, OWASP Mobile Top 2014, OWASP Mobile Top 2014, OWASP Top 10 2017, OWASP Top 10 2021, OWASP ASVS, OWASP MASVS, PCI DSS 4.0, HIPAA, CWE/SANS Top 25 2011, CWE/SANS Top 25 2021, or CWE/SANS Top 25 2023.
If you enable Compare with Scan, only By severity and By secrets classification methods are available.
When selecting the By Secrets classification, only vulnerabilities related to improper storage or leakage of sensitive data in the project’s code will be present in the report.
Scan Information
The information about scan statistics is to be added to your report by default. Select additional scan information from the list.

Figure 5.21: Scan Information
Vulnerabilities Filter
Filter vulnerabilities by severity, type and language. Use ConfiAI filter in one of the modes: Only true, Only important, Custom, or Dynamic.
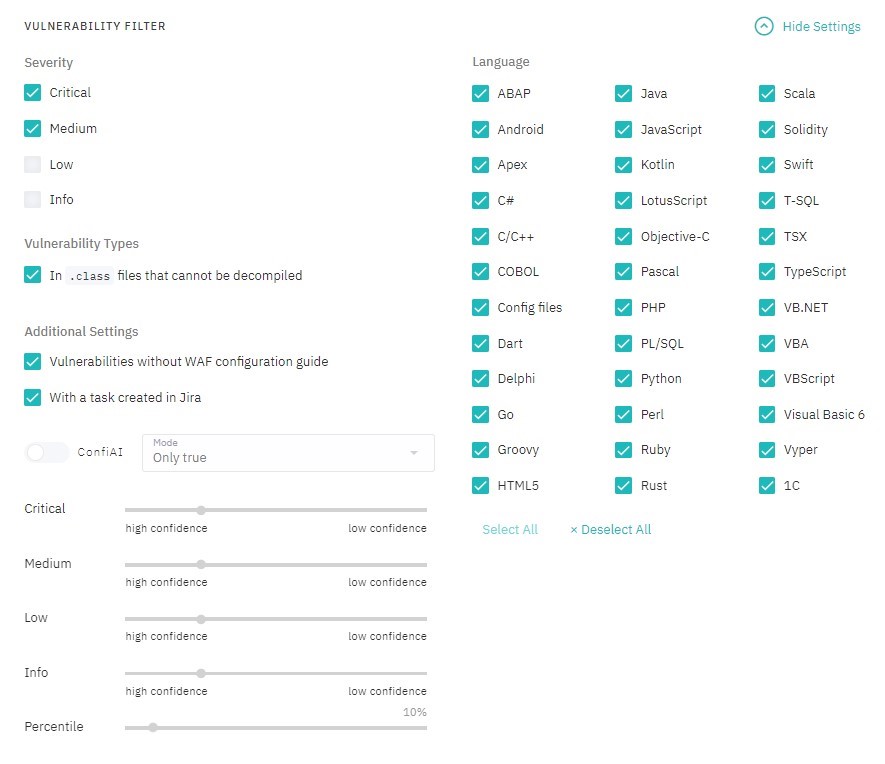
Figure 5.22: Vulnerabilities Filter
Vulnerability List
Choose vulnerability statuses and number of entries that need to be included in the list.

Figure 5.23: Vulnerability List
Detailed Results
By default, description, example, recommendations, and links are to be added for each vulnerability.
Also, the following actions are available:
- filter vulnerabilities by statuses: Confirmed, Rejected, Not Processed
- DerCodeFix: export results (unavailable for SARIF)
- specify number of vulnerability entries
- add vulnerability trace
- configure event log:
- no log
- only comments
- only actions
- everything
- specify context size of vulnerable source code
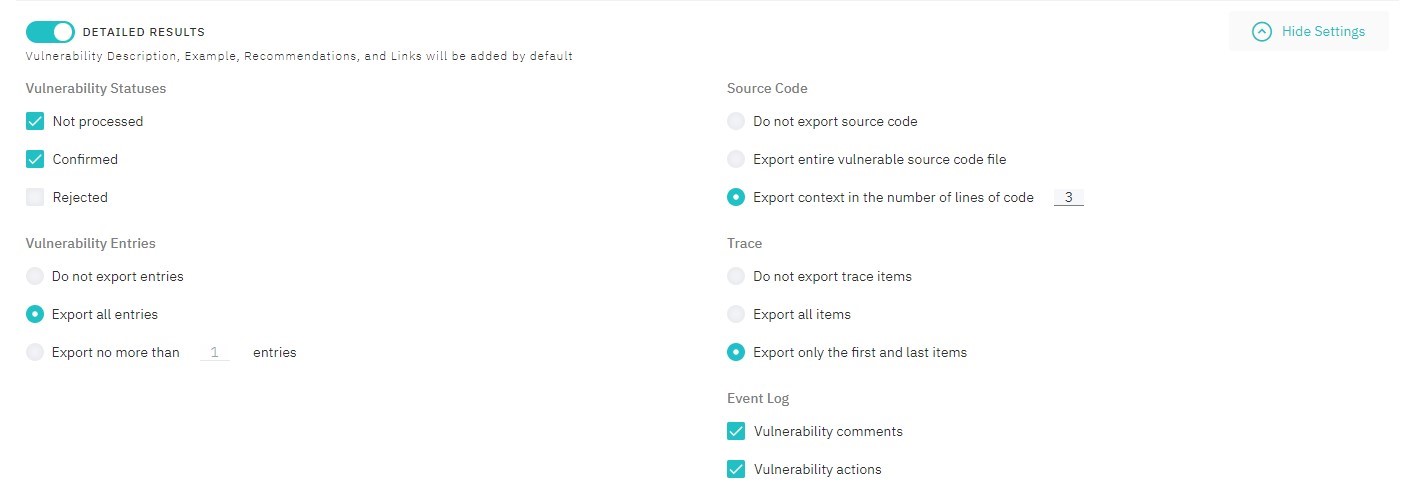
Figure 5.24: Detailed Results
WAF Configuration Guide
Select vulnerability statuses, for which WAF Configuration Guide will be included:
- Imperva SecureSphere
- ModSecurity
- F5

Figure 5.25: WAF Configuration Guide
General Report Settings
Select the desired report format and add export settings and table of contents if necessary. You can also configure vulnerability statuses display in the report.
Please notice:
If you wish to view the CSV report in Microsoft Excel, you need to select the Do not detect data types option in the Data Type Detection list during file importing. Display vulnerability statuses option is unavailable for editing for this format.
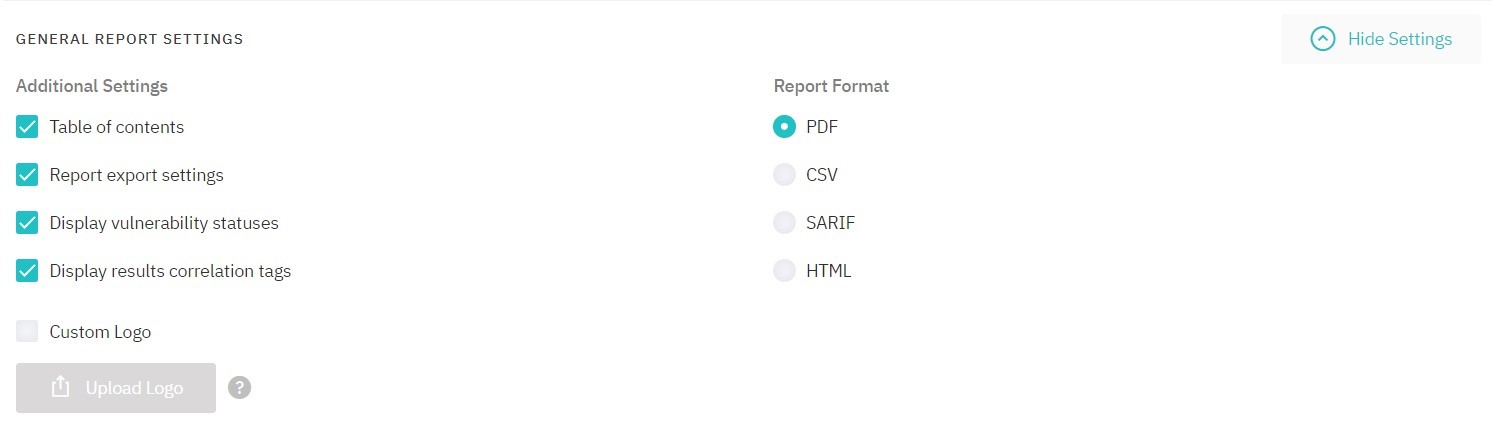
Figure 5.26: General Report Settings
To download report, click Download.
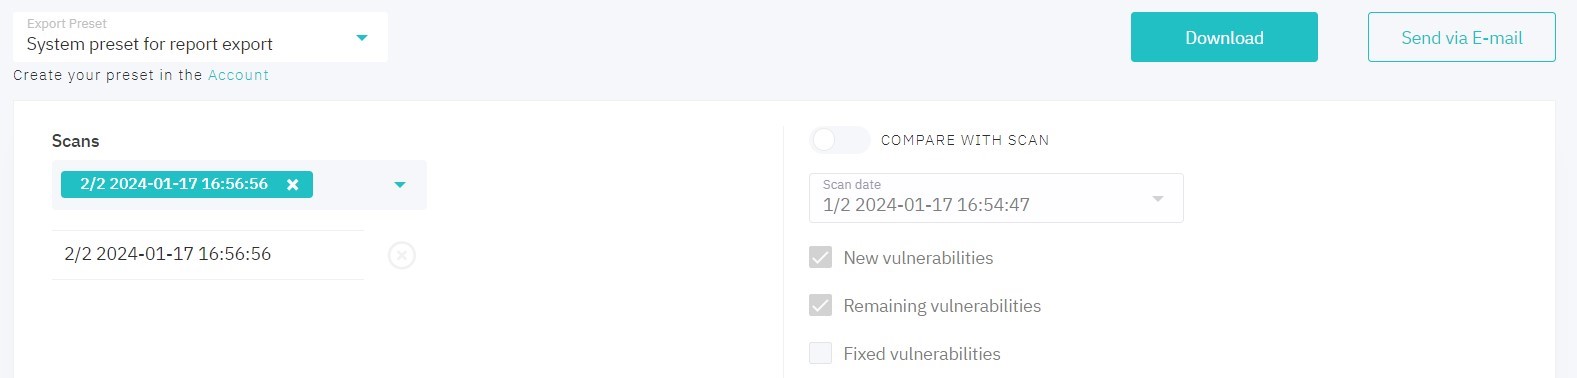
Figure 5.27: Export
To send report via e-mail, click Send via E-mail. In the pop-up window, enter the list of recipient addresses. Edit message text if necessary.
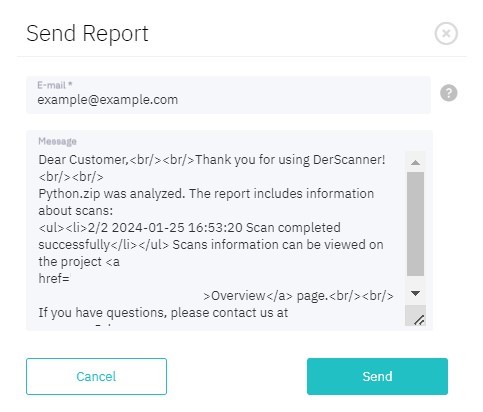
Figure 5.28: Send report