Create user
To create a user:
-
Go to Users > All Users > Create User.
-
Enter a login, a password, and full name.
-
Enter an e-mail, phone number, organization, organization website, and position (optionally).
-
The Account available from/until fields allow to configure system's availability to a user. Beyond this timeframe, a user will not be able to access the system, but their account will stay in the system and be available to an administrator for configuration.
-
The Available SAST/DAST/SCA scans fields allow to configure the number of available scans of the corresponding type to a user. If no scans are available, a user will also be unable to create an empty project.
-
Specify user's general access roles:
- Work with rules allows to create new rules, copies of rules, and custom patterns
- Work with rule sets for all users allows to create public (accessible to other users) rule sets. Otherwise, the user will be able to create only private sets available to them and the system administrator
- Work with public presets allows to create public presets for scanning and reports. Otherwise, the user will be able to create only private presets
- Work with project groups for all users allows to create public project groups. Otherwise, the user will be able to create only private project groups
- Create accounts through the API allows to create new user accounts via the API
- Create new Projects allows to create new SAST, DAST, or SCA projects, including empty projects. Otherwise, the user will be able to perform scans only in existing projects
- Set exclusive scan priority allows to run scans with the highest priority level
- Export or import projects allows to upload or download projects between different DerScanner installations
- Download applications from the local computer or from the repository allows to download projects in the specified way
- Run DAST scans allows to run Dynamic analysis scans
- Run SCA scans allows to run Software Composition analysis scans
- Run Supply chain scans allows to run Supply Chain security scans
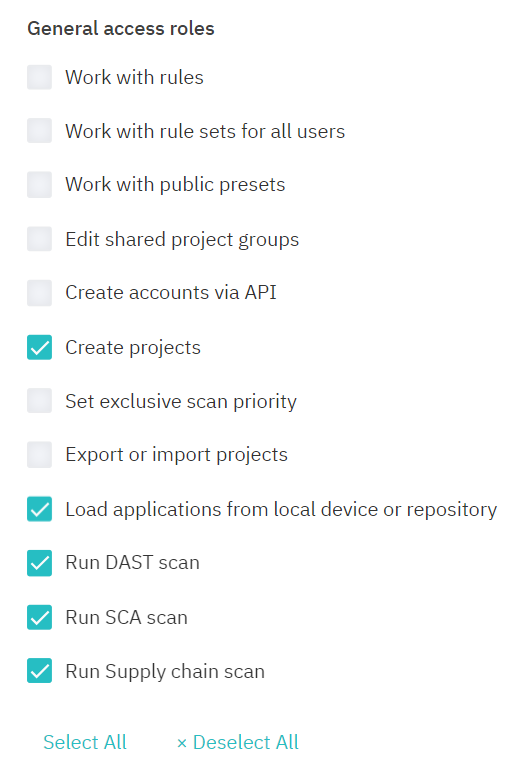
Figure 10.67: General access roles
-
Configure parameters that will not be displayed for other users in the user's scans in the Visibility restrictions section.
-
If needed, select the analysis languages available to a user in the Analyze languages section.
-
Configure user's access to projects.
-
Specify user's roles for static, dynamic, and software composition analysis projects, and project groups. User's roles for a project, projects group, and derived from membership in a users group are all taken into account. If a user is the project's author, they get full privileges for this project, unless otherwise stated in General access roles, Visibility restrictions, and Analyze languages.
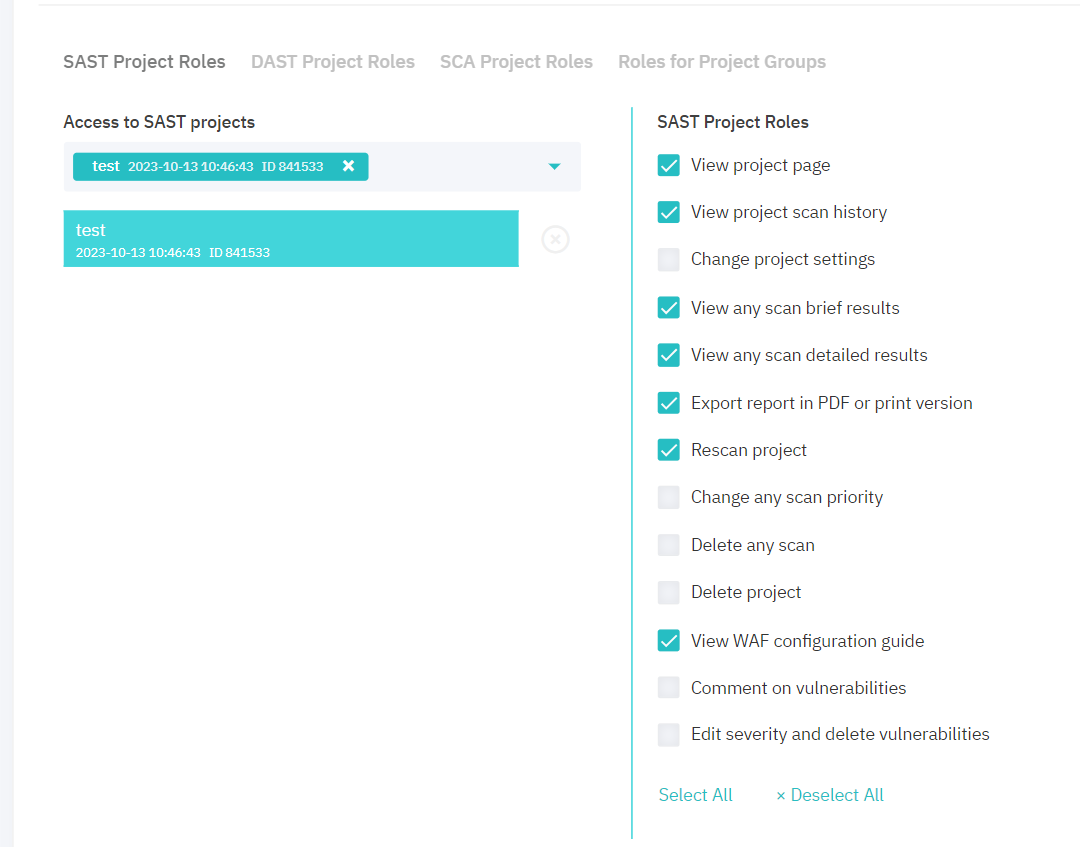
Figure 10.68: Roles for project
- Press Save.
To edit/delete a user or their roles, click the user login in the All Users list, apply changes and press Save/Delete User.
Block user
You can manually block a user in the user editing form. To block a user:
-
Click on the user login in the users list.
-
In the form that opens, specify the reason for blocking. This message will be displayed to the user in the authorization window.
-
Press Block User.
After you have pressed the Block User button, you won't be able to indicate the reason for blocking.
To unblock the user, go to the blocked user's editing form and press Unblock User.