First panel launch, country selection and server checks
Video walkthrough: Check Your Server Before Installing DerScanner — DerSecur Control Panel (YouTube).
Start and open the panel
- Connect to the intended server over SSH or through its console. Confirm the host before running the approved installation command.
- For an International online delivery, the bootstrap command is:
curl -fsSL https://registry.derscanner.com/install | sudo bash -s -- --international
Use the delivery command supplied for your deployment. This address downloads the version currently offered by the delivery service; it does not pin a specific panel version. For an offline delivery, start the included install.sh on the target as described in Installation without internet.
- Wait for the console to print the panel address and sign-in instructions. Keep this result available. The usual direct address is
https://<server>:9443; use the actual address shown for your server. - Open the printed address or one-time sign-in link. Check the host and certificate. If your administrator has deliberately deployed a self-signed certificate, verify it with them before accepting the browser exception.
- A one-time link can be used once and expires after 15 minutes. If it has expired or already been used, obtain a new link from the server administrator. If a password form appears, follow its instructions and enter the account for this panel. The registry account issued by DerSecur is used in the standard setup flow. The first check can take up to half a minute while the registry answers; if it does not answer in time, the panel asks you to try again in a minute. After too many wrong attempts you must wait 5 minutes.
The panel runs on the server. Keep the server running while it installs software; a browser tab is only its interface. Changing the interface language does not change the server you administer.
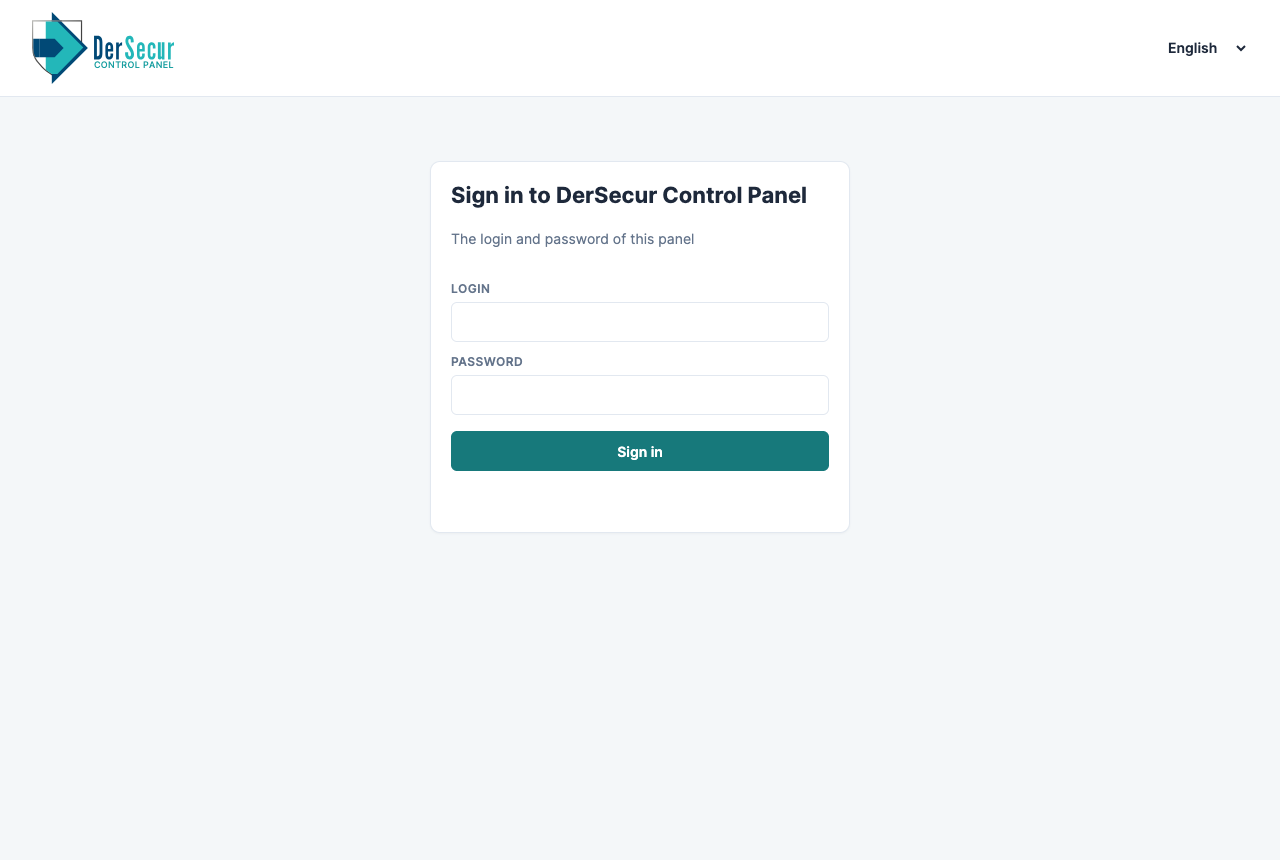
Sign-in screen of the panel: the account of the panel, not of DerScanner.
Choose the country before server checks
On a new installation without a country already supplied by the delivery, the first screen asks Where will DerScanner be used?. This step comes before the server and module-selection screen.
- If necessary, select the interface language at the top right.
- Inspect the list of country codes and names beneath the Country field. If the list is closed, click the field to open it.
- Scroll through the list or type the country name or code to filter it. If No country matches appears, clear or correct the search.
- Click the actual country in the result list. Typing a name alone is not a completed selection. Before a valid selection, Continue remains unavailable and the page says Choose a country first.
- Check the selected country. The panel may change language to match the selection; you can change the display language independently.
- Press Continue. The wizard now opens the server checks and installation choices.
Country determines the applicable delivery and is fixed when installation takes place. If you made a mistake before starting installation, use Change beside the chosen country on the selection screen and choose again. Do not select a different country merely to change the interface language. A delivery folder can supply the edition, so not every launch asks this question again.
Read and resolve server checks
- Read the Server check card before starting installation. Review the checks shown for the operating system, architecture, CPU, memory, disks, Docker, ports and network prerequisites.
- Resolve blocking failures on the server. Read the full explanation rather than only the colour of the status.
- If Docker is missing, first check proxy settings and access to OS package mirrors (see Prepare the server, access and installation files). Then press Install Docker once if offered. Follow progress in the wizard and allow the package manager to finish; do not start another installer while it is active.
- Wait for Docker installation to finish and for the check to refresh. A wizard reopened during the Docker installation (new sign-in, reload, another tab) follows that installation; it does not offer Install Docker again. Use Check again when offered after correcting a problem. A running or waiting status is not a completed installation.
- Select the product version and modules using the next chapter. The Version card names the version that will be installed (on a server without the registry, the version of its delivery folder). The space is judged for the modules you tick; if that check does not answer, the wizard says the space was not checked for the modules chosen and asks you to press Check again, without blocking. Re-read the resource checks after changing the module set: requirements can change.
- If a required check still fails, keep the error text and correct its cause before proceeding. Use the panel's support facilities when the cause is unclear.
For offline files, signature verification and Docker preparation may be sequenced by the wizard. Let the current operation finish; do not bypass verification to reach the installation button.