Install a complete DerScanner deployment on a remote server
Result
DCP connects over SSH, transfers a prepared delivery and installs DerScanner on the selected host. Full remote installation requires a delivery folder; it differs from installing an individual remote module online.
Preparation
Prepare an empty supported host, SSH access and a user with the required administrative privileges. Obtain the SSH fingerprint from the administrator. Prepare the required version and modules using Installation without internet on the machine running the controlling DCP. Allow space for transfer and extraction on the destination. Use adoption and upgrade for an existing DerScanner deployment.
Connect the host
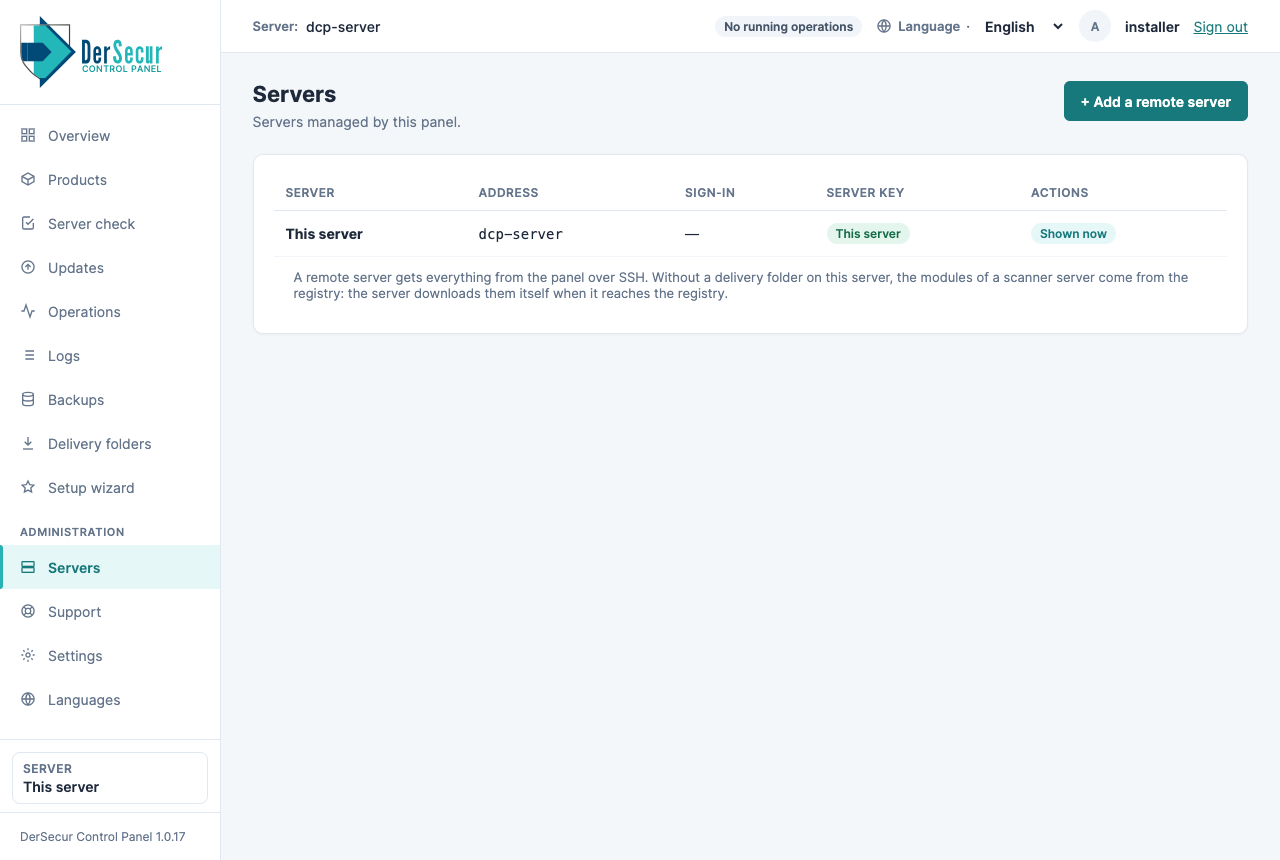
- In the controlling panel, open Servers → Add a remote server.
- Enter a recognisable name, such as
scanner-main. The name identifies the record; the address determines the connection. - Enter the IP address or DNS name and SSH port. Use 22 only if SSH actually uses the standard port.
- Enter the SSH username.
- Select Key or Password. Paste the private key into its dedicated field or select its file; for password authentication, fill in the password field. A DerScanner account password is not an SSH password.
- Set the product directory. The default is
/opt/derscanner; use another location only as part of the agreed deployment design. - Save and switch to the server. Read the SSH host-key card.
- Compare the fingerprint with the known value and confirm only a match. For an unexpected key, stop and check the address with the administrator.
- Run the server check and resolve access, capacity and environment errors. The result reads Checks passed (the server is ready for the installation), or says the server can take the installation but you should look at the warnings first, or that it is not ready yet and lists the lines marked as errors.
Install
- On the confirmed server record, choose full DerScanner installation. Do not choose an individual module if the destination must be a separate main server.
- Select the prepared delivery folder. Verify release, modules, country/edition and destination address. The form lists the modules that will be installed from this folder; for a folder you prepared yourself, compare the folder fingerprint shown beside it with the one noted at preparation (see Installation without internet). The folder goes to the server over SSH; the server downloads nothing itself.
- Read the delivery verification and server checks. Resolve blocking errors before starting.
- Confirm installation. Follow the operation: copying the delivery and installing on the remote host are separate phases.
- Wait for the final result. Transfer completion alone is not installation completion.
- Open DerScanner at the destination address. Use the installation-generated administrator credentials and activate the licence with Licence and first product sign-in.
- In Servers and Products, verify the version and modules of the remote installation.
Interruptions and errors
After a connection failure, restore SSH and inspect the current operation first. When offered, use Continue on the stopped remote-installation entry to resume transfer to the same server. Do not launch a competing operation. A host already containing modules does not offer a fresh-install form: decide whether adoption, upgrade or a deliberate reinstall is needed.
SSH requirements
The DCP form accepts a private key without a passphrase. A non-root account requires sudo -n, with no interactive password prompt. An SSH password is not supplied as a sudo password. Use a dedicated administrative account and protected key storage.
Servers managed by this panel.